VSCode tips and tricks
Some lesser known settings and keybindings that you can use to configure VSCode to your liking
Published on 23 Jun, 2023 · 4 min read · 0 reading right now · 1 views
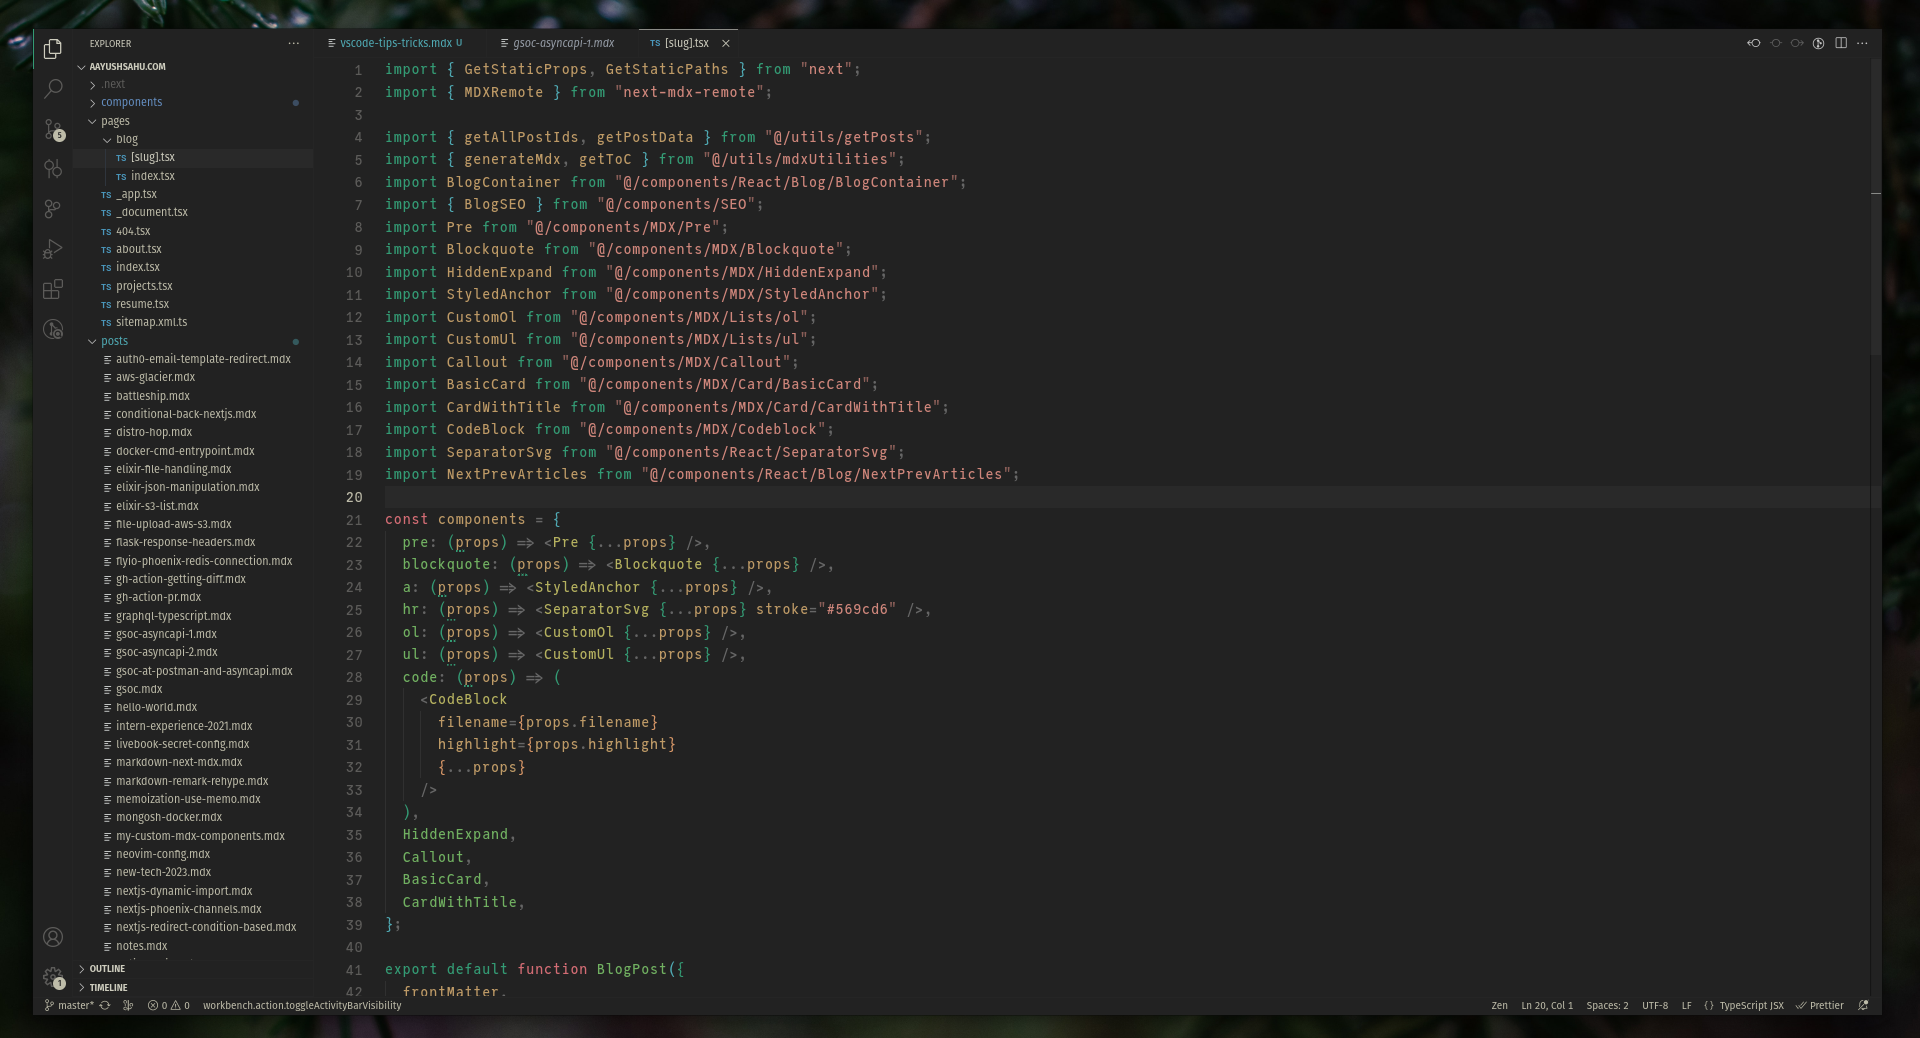
My VSCode editor. For theme and font, scroll to bottom of the page.
Here are some VSCode tips and tricks that can take your programming experience to new heights.
All the configurations are made to
settings.json
file. You can access it by
CTRL + SHIFT + P
-> "Open User Settings(JSON)".
Here's the link to the config file I use.
Visual styling
Fun with fonts and colors.
Font configurations
Most of the stuff is pretty straightforward. You can change the font weight, spacing between letters, line height, etc.
{
  "editor.fontLigatures": true,
  "editor.fontFamily": "'JuliaMono'",
  "editor.fontWeight": "400",
  "editor.letterSpacing": 0.1,
  "editor.lineHeight": 25
}
You can even configure terminal specific fonts settings using
terminal
prefix.
{
  "terminal.integrated.fontSize": 15,
  "terminal.integrated.fontWeightBold": "500",
  "terminal.integrated.fontFamily": "'FuraCode Nerd Font'"
}
Color configurations
Want a line to indicate 80 columns? You can configure it using
editor.rulers
.
{
  "editor.rulers": [
    {
      "column": 80,
      "color": "#4f545a40"
    }
  ]
}
You can also customize existing theme. Cool thing about this is you can configure themes you install later as well.
{
  "workbench.colorCustomizations": {
    "[Default Dark+]": {
      "statusBar.background": "#1b1b1b",
      "activityBar.background": "#1b1b1b",
      "sideBar.background": "#1b1b1b",
      "editor.background": "#1b1b1b"
    },
    "[new theme name]": {
      // configs
    }
  }
}
With
editor.tokenColorCustomizations
, you can customize how each token looks like. Here I'm configuring that all comments should be in italics. You can configure a lot more with this. I recommend checking VSCode's syntax highlighting
guide
for other options.
{
  "editor.tokenColorCustomizations": {
    "textMateRules": [
      {
        "scope": ["comment"],
        "settings": {
          "fontStyle": "italic"
        }
      }
    ]
  }
}
File explorer change
You can add more indentation to file tree structure using
workbench.tree.indent
.
{
  "workbench.tree.indent": 20
}
Workbench refers to overall VSCode UI.
File specific configs
You can set file specific configurations such as changing font for a specific file like markdown, disabling format on save for python, etc.
{
  "[python]": {
    "editor.defaultFormatter": "ms-python.python",
    "editor.formatOnSave": false
  },
  "[markdown]": {
    "editor.wordWrap": "on",
    "editor.quickSuggestions": {
      "comments": "on",
      "strings": "on",
      "other": "on"
    },
    "editor.fontFamily": "'Overpass Mono'",
    "editor.fontSize": 15
  }
}
Working with files and directories
You can exclude some directories or files from showing up in the file tree, for example
node_modules
, using
files.exclude
key.
{
  "files.exclude": {
    "**/.git": true,
    "**/.svn": true,
    "**/.hg": true,
    "**/CVS": true,
    "**/.DS_Store": true,
    "**/Thumbs.db": true,
    "**/node_modules": true
  }
}
You can even associate any file extension to a desired extension using
files.associations
config.
For example, here I'm telling vscode to treat
.df
files as dockerfile.
{
  "files.associations": {
    "*.df": "dockerfile"
  }
}
By default VSCode search functionality searches in all files. You can exclude certain directories or files from being searched using the
search.exclude
config.
{
  "search.exclude": {
    "**/.git": true,
    "**/.next": true,
    "**/.output": true,
    "**/.pnpm": true,
    "**/.vscode": true,
    "**/.yarn": true,
    "**/dist/**": true,
    "**/logs": true,
    "**/node_modules": true,
    "**/tmp": true,
    "**/_build": true,
    "**/deps": true
  }
}
Keybindings
With right keybindings you can configure VSCode to be fully ✨keyboard driven✨.
You can access the keybindings configuration file by going to command palette(CTRL+SHIFT+P), and selecting "Open Keyboard Settings(JSON)".
The keybindings take
key
which is the shortcut,
command
that will run when that key is pressed, and an optional
when
value to configure when the command should run.
[
  {
    "key": "ctrl+t",
    "command": "workbench.action.terminal.toggleTerminal"
  },
  {
    "key": "ctrl+cmd+enter",
    "command": "workbench.action.toggleMaximizedPanel"
  },
  {
    "key": "ctrl+k",
    "command": "workbench.action.terminal.focusNextPane",
    "when": "terminalFocus && terminalProcessSupported"
  },
  {
    "key": "ctrl+j",
    "command": "workbench.action.terminal.focusPreviousPane",
    "when": "terminalFocus && terminalProcessSupported"
  },
  {
    "key": "ctrl+n",
    "command": "workbench.action.terminal.new",
    "when": "terminalFocus"
  },
  {
    "key": "ctrl+shift+k",
    "command": "workbench.action.terminal.focusPrevious",
    "when": "terminalFocus"
  },
  {
    "key": "ctrl+shift+j",
    "command": "workbench.action.terminal.focusNext",
    "when": "terminalFocus"
  }
]
With this config, I can toggle the terminal using
CTRL + T
key, maximize the terminal to full screen using
CTRL + SHIFT + ENTER
. I can even create new terminal pane using
CTRL + N
, and move to upper or below terminal page using
CTRL + SHIFT + K
and
CTRL + SHIFT + J
but only when the terminal pane is in focus. Pretty neat!
Vim mode config
If you are using the VSCode VIM extension, you can also configure vim keybinds in
settings.json
file.
The keybindings take a
before
value which is the keyboard shortcut you want to bind to, and an optional
after
that maps to a VIM keybind. If you want to run a command instead, replace
after
with
commands
and put in the command you want to run.
{
  "vim.leader": "<Space>", // set the leader key to spacebar
  "vim.normalModeKeyBindingsNonRecursive": [
    // in normal mode
    {
      "before": ["J"],
      "after": ["5", "j"]
    },
    {
      "before": ["K"],
      "after": ["5", "k"]
    },
    {
      "before": ["<tab>"],
      "commands": ["workbench.action.nextEditor"] // on tab, show next editor screen
    },
    {
      "before": ["<S-tab>"],
      "commands": ["workbench.action.previousEditor"] // on shift+tab, show previous editor screen
    },
    {
      "before": ["<leader>", "t", "t"],
      "commands": [":tabnew"]
    },
    {
      "before": ["<leader>", "t", "o"],
      "commands": [":tabo"] // close all other tabs except current active one
    },
    {
      "before": ["<leader>", "t", "q"],
      "commands": [":tabclose"] // close current tab
    },
    {
      "before": ["<leader>", "e", "e"],
      "commands": ["workbench.action.toggleSidebarVisibility"] // toggle sidebar visibility
    },
    {
      "before": ["<leader>", "e", "a"],
      "commands": ["workbench.action.toggleActivityBarVisibility"]
    },
    {
      "before": ["<leader>", "e", "q"],
      "commands": ["workbench.action.toggleStatusbarVisibility"]
    },
    {
      "before": ["<leader>", "c"],
      "commands": ["editor.action.commentLine"] // comment the line where the cursor is
    },
    {
      "before": ["<leader>", "s"],
      "commands": [":w"]
    }
  ],
  "vim.insertModeKeyBindingsNonRecursive": [
    // in insert mode
    {
      "before": ["j", "k"],
      "after": ["<ESC>"]
    }
  ],
  "vim.visualModeKeyBindings": [
    // in visual mode
    {
      "before": ["J"],
      "after": ["5", "j"]
    },
    {
      "before": ["<leader>", "c"],
      "commands": ["editor.action.commentLine"]
    },
    {
      "before": ["K"],
      "after": ["5", "k"]
    },
    {
      "before": ["<Leader>", "j"],
      "after": ["J"]
    }
  ]
}
I got to know about these configurations through this awesome course by Barbarian Meets Coding. You should definitely check that out if you want to know more ways to configure VSCode with the VIM extension.
So that's it, these configs took my VSCode experience to a new level. Hope it does the same for you. Let me know what you think!
Aside: my theme and font
From the thumbnail: the theme is Vitesse Dark theme . I use JuliaMono as my editor font, and my terminal font is Fira Code Nerd Font . Alternatively you can checkout my config file.